- SCANNING: There seems to be more
variation in scanner quality than you'd think, so I can't speak to what
you have. But the general rules are to see if you can find GAMMA SETTINGS
in your scanner software interface and set the Gamma 1.8 or 2.2. If your
scans are getting too blown out or dark play with the contrast and color
sliders. 150 dpi resolution is usually enough, but you can go higher if
your machine can handle large documents. Something like a shallow white
box top, white fabric or tissue paper is used as a backdrop. As long as
you have something that has reasonable contrast and values that you can
work with, you'll be able to tweak and adjust in Photoshop later.
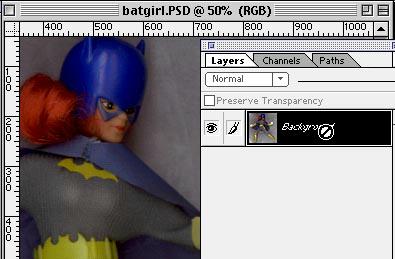
- Okay. So you've scanned in the figure. After a little practice she's
struck a cool pose that we like. It's just like posing them on the shelf.
-
- SO how the hell do we get her
off the BACKGROUND LAYER and into something a little more interesting?
-
- Photoshop has a wide array of selection tools. But if you've played
with it at all you've discovered that the MAGIC WAND is a little less magical
than we might hope. First, there's too much variation in the background
to do a simple selection, and even if the background were smooth you'll
encounter halos and jagged lines in many cases. Forget about the LASSO
tool. That's only good for quick and dirty pick-ups or straight line selections
when it's in the RUBBER BAND mode.
-
- As far as just erasing the background with the ERASER you've discovered
that it is difficult as you have to keep UNDOING your screw-ups.
-
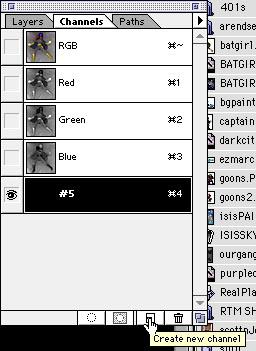
- To do this job we need to use CHANNELS. The Channels palette has separated
the three colors of the document, which are useful for many things. However,
what we want to do is create a new Channel. Do this by clicking the button
as seen below or within the palette menu (the dark arrow--upper right).
NEXT