3Amego's Guide to Restringing Type 1 Bodies
Re-Stringing Type 1 Megos
As with many favorite toys, Megos had a tendency to get played with to death! Thumbs were broken, heads were eaten and strings were snapped. Well we can't help you with the eaten heads or broken thumbs, but we can show you how to re-string your Type 1 Megos and make them as good as new!!
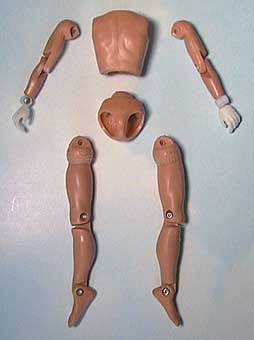
Step 1: Make sure you have all of the body parts!
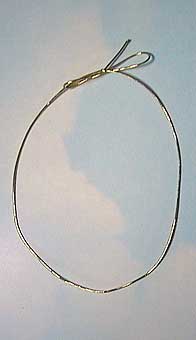
Step 2: Get some of that gold elastic string used to wrap Christmas gifts.
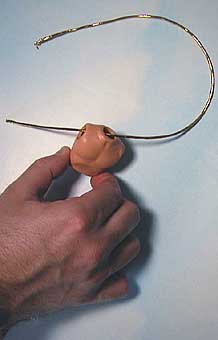
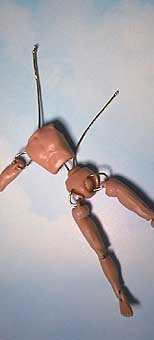
Step 3: Run the string into the neck hole of the torso and out of the right arm hole.
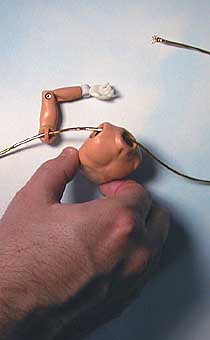
Step 4: Run the string through the TOP hole in the right arm.

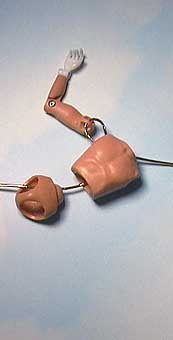
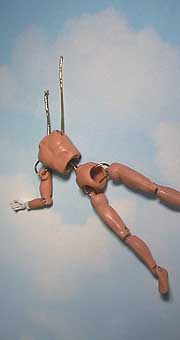
Step 5: Run the string back into the right arm hole of the torso and out the bottom torso hole.
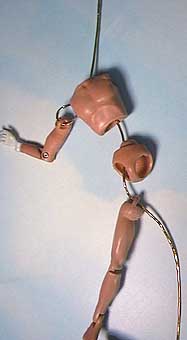
Step 6: Run the string into the top of the pelvis and out the right leg hole.
Step 7: Run the string into the TOP hole on the leg
Step 8: Run the string back though the right leg hole and out of the left leg hole.
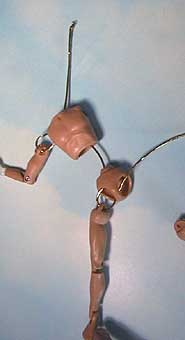
Step 9: Run the string into the BOTTOM leg hole for the Left leg.
Step 10: Run the string back into the left leg hole in the pelvis and out through the top hole of the pelvis.
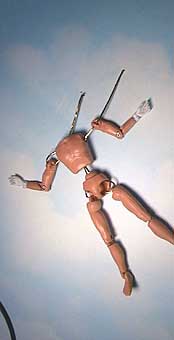
Step 11: Run the string back into the bottom hole of the torso and out of the left arm hole.
Step 12: Run the string into the BOTTOM hole on the arm.
Step 13: Run the string through the left arm hole in the torso up through the neck hole.
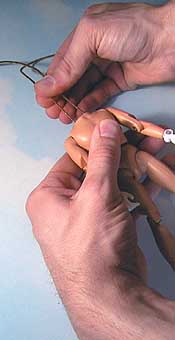
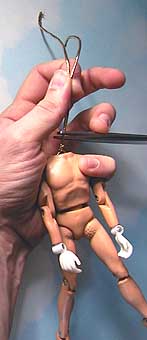
Step 14: Pull both ends of the string to tightly pull the arms and legs together.
Step 15: While holding the two ends of the string as tightly as you can, tie a knot in the string.
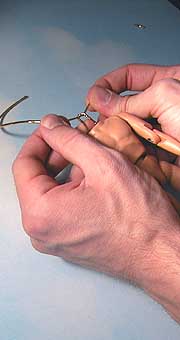
Step 16: Cut the excess string and let the knot fall into the torso.
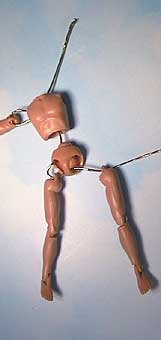
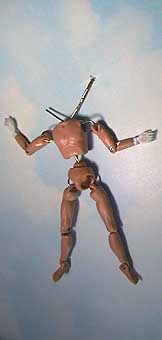
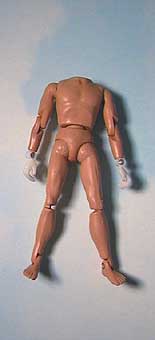 Step 17: Well, there really isn't a "Step 17". You're done, but this is what the newly repaired body will look like!
NOTE: When you are tying the knot, it will seem like the string is too tight, but when you cut the string and let the knot fall into the torso, the string will loosen.
Step 17: Well, there really isn't a "Step 17". You're done, but this is what the newly repaired body will look like!
NOTE: When you are tying the knot, it will seem like the string is too tight, but when you cut the string and let the knot fall into the torso, the string will loosen.
Now you too can fix your sad, broken-stringed Megos!
 Email: [email protected]