Basic Hand Sewing by Dave McCormick
Before we start this, keep in mind Im self taught. I just picked up a needle and thread one day and started messing around until I found something that worked for me. A real tailor might be horrified by my methods. It works for me, so what Ill try to do is explain how I hand sew and hope that it might help someone else in creating their customs.
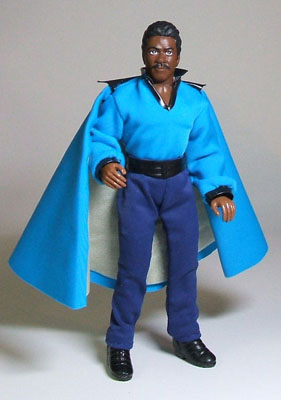
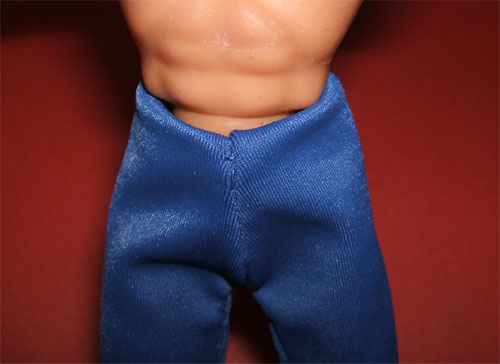
Okay, lets see if I can explain this basic process in a way that doesnt confuse more than help. Well just go over something easy and basic for now. A pair of pants I made for my Lando Calrissian custom, using the two piece pants pattern found here in the patterns section. Many of the things we do for pants, can be applied to shirts and jumpers as well.
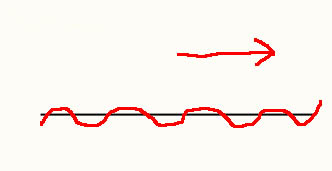
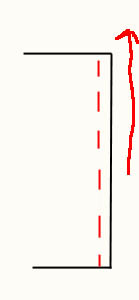
Before we start putting things together, lets go over the basic stitch. Basically, you are putting together the two pieces of material you want to sew together, with the outside of each piece of material facing each other. Youll be doing most of your sewing inside out. When hand sewing, I go over each seam twice. I start at one end, go back and forth through the material until I reach the end of the seam. That produces something that looks like this.
Side View
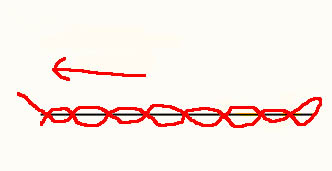
Top View
It is common for the beginner to want to stop here. Dont do it. If you stop here, the material, when pulled, will try to gap. It may be quicker, but youll be much happier with the end product if, when you get to the end of the seam, you loop around and sew back over your seam, going the opposite direction to fill those gaps.
Top View
Side View
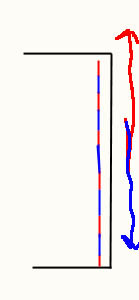
This will keep the seam nice and tight.
Lets look at the basic tools youll need.
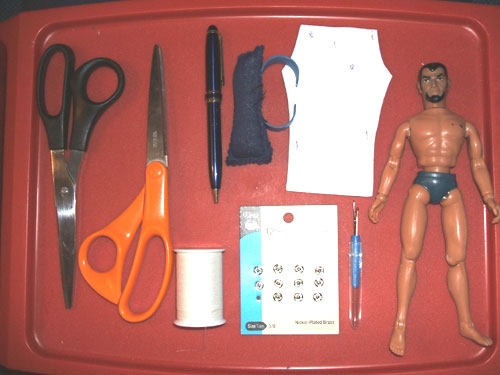
Scissors - I keep two pair. One is for cutting material only. Youll want a nice sharp pair for this. Cutting only material with a single pair will help keep them sharp. The other pair is for cutting thread, cutting out patterns and whatever else I might need to cut.
Ink Pen- used to trace the pattern on the material.
Needles and pincushion.- Youll need a couple sharp needs of various sizes (nothing too big) and a pin cushion to keep them in so they dont end up on the floor and later in your foot.
Thread- whatever color matches best your material.
Pattern- Youll need to use a pattern when you start. Many are available in the pattern section here at CustoMego. When I cant find exactly what I need, I find an existing pattern that is close, trace it on another piece of paper and modify it to my needs.
Seamripper- for those oops moments.
Snaps- While we wont be using them for this item, almost all of your mego custom clothes will need snaps, so keep some #3s on hand.
Dressmakers dummy. Keep a body on hand to check your work as you go and make sure you have the fit right.
These are the basic items you have to have to get started. Now lets see if we can make some sense of the process.
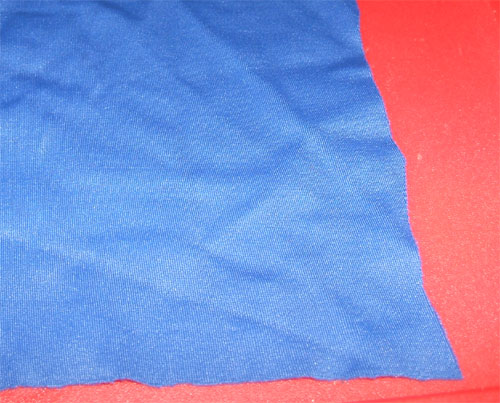
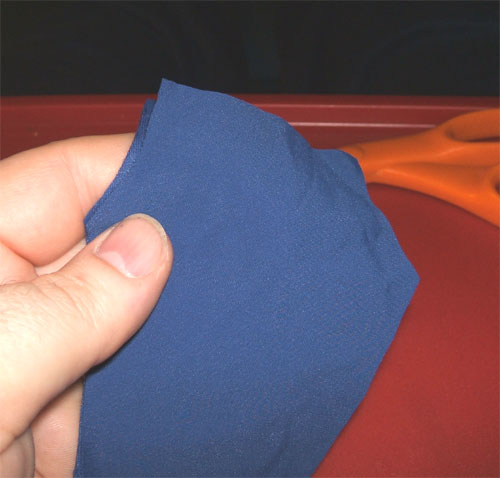
First, take a look at your material. Look at what direction the nap runs. Look at which side you want to be facing out when you are done. Lay the material face down on your work area so you are looking at the back. Make sure the nap is running the direction you want it to run on the face before laying it down.
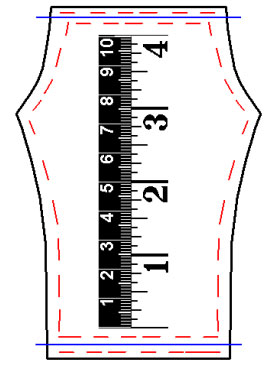
Take your pattern and lay it down on the back side of your material which is now facing up. Using an ink pen, trace the pattern on the material. Usually, I trace patterns a little longer than they really are. Ill add a ½ inch to the waist and the bottom of the legs. Most of this will be cut off later, but Id rather have it and not need it, then need it and not have it when I go to put the finishing touches on my piece.
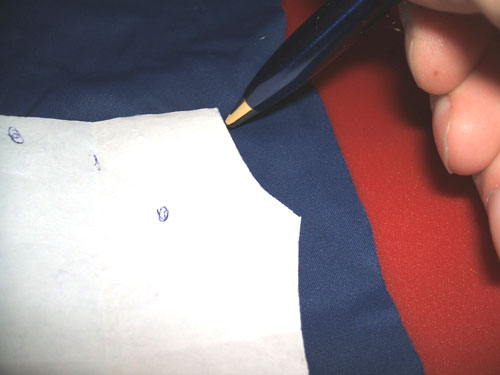
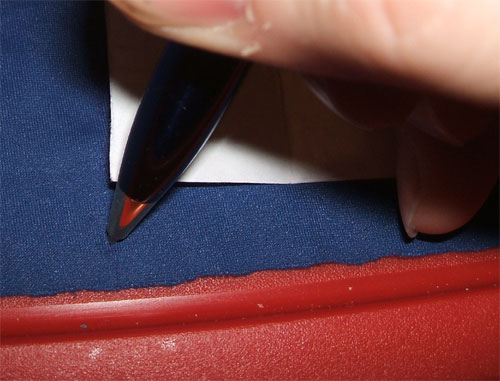
Some materials are too dark to trace on. In those cases hold or pin the pattern to the material and cut the material around the paper.
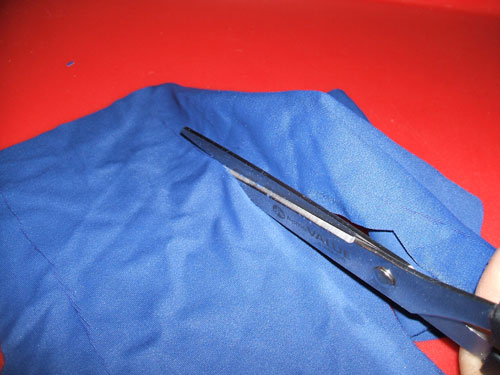
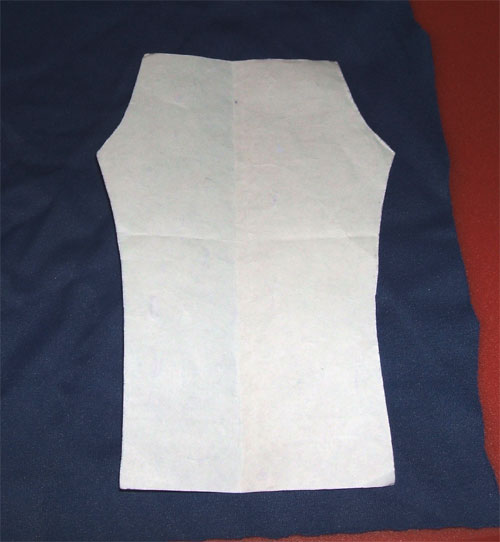
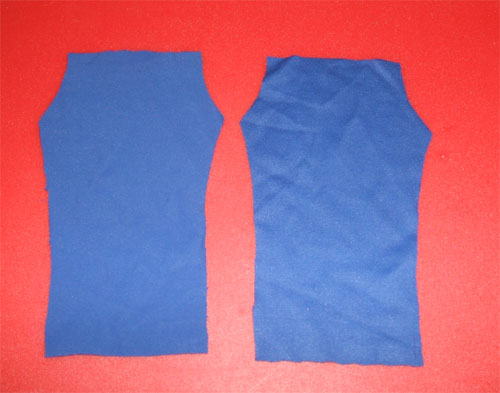
Once you have your pattern traced on your materials back side, grab your material scissors and cut out the shapes. With the pattern we are using, there is only one piece, however we will need two of that one piece to make these pants, so cut it out twice!
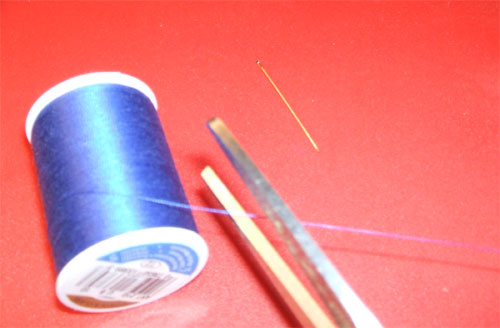
Now that you have your material pieces cut out, its time to start actually sewing them together. Pull a long piece of thread off the spool and cut. I usually pull off about 2 feet at a time. Thread the needle and pull both ends of the thread until they meet and the needle is hanging from the middle.
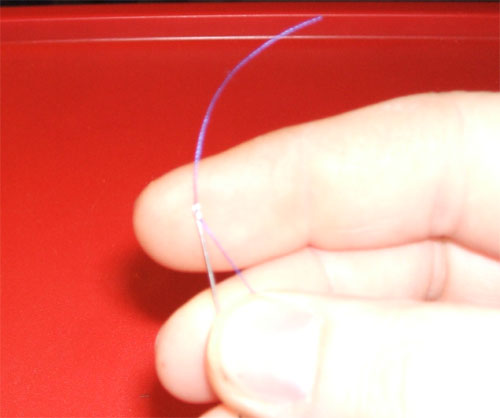
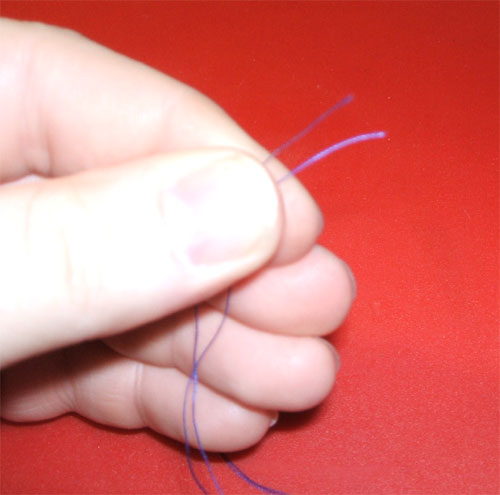
Note: This is something I do that most dont. I just like to have my thread doubled up. It may not be proper but it works for me.
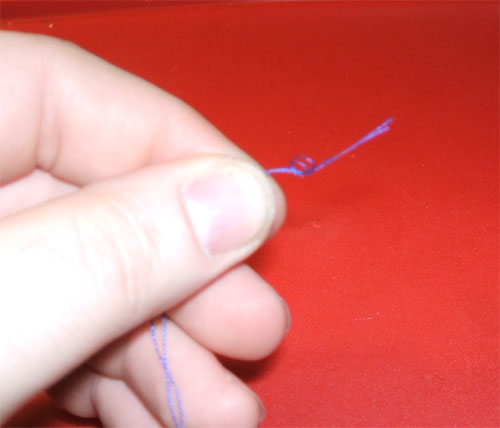
Holding both ends of the thread together, loop them into a knot and pull tight. Cut off most of the excess, leaving about an 1/8.
Alright, lets do it. With the pants we are going to start with the crotch seam. Note I dont always sew real close to the edge. Some patterns are a little big and youll get the feel of this over time. How far in to place your stitch depends on how big the pattern is. I tend to cut my patterns with a little extra material, then I trim off the excess seam later.
Starting at one end of the seam poke your needle through and pull the thread until the knot catches on the other side. Be careful not to pull too hard, you can pull the knot through the material.
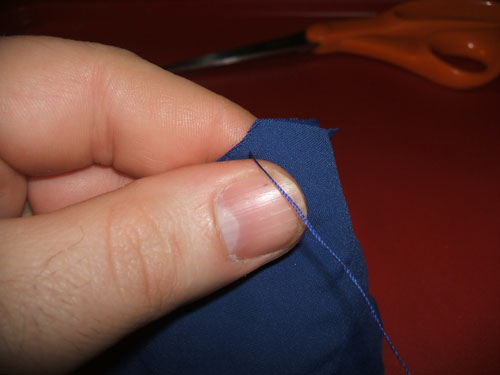
About an 1/8 farther along the seam, take the needle back through making an 1/8 stitch. Whenever Im starting with a fresh piece of thread, I go back through the first hole again, making that first stitch a loop, just to make sure I have a little strength on that first stitch so the knot wont pull through somewhere down the line. So basically, your third time through the material with the needle, should be through the same place as your first, just to make sure that first stitch holds.

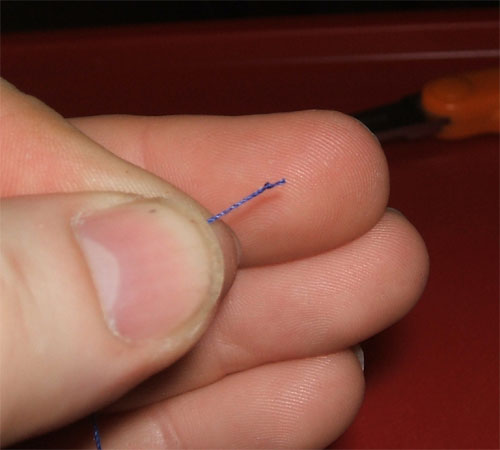
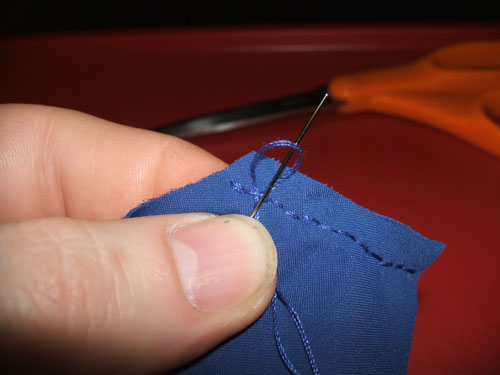
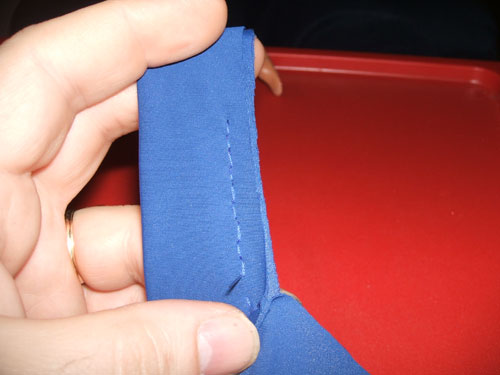
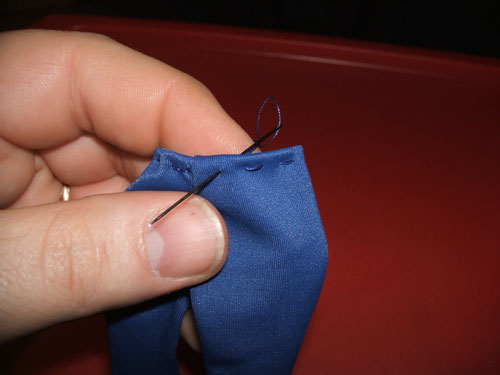
Now go back and forth every 1/8 of an inch. Down through the material, back up an 1/8 later, back down another 1/8 later and so forth, to make your first pass. When done it will look like the above first two drawings and the below picture.
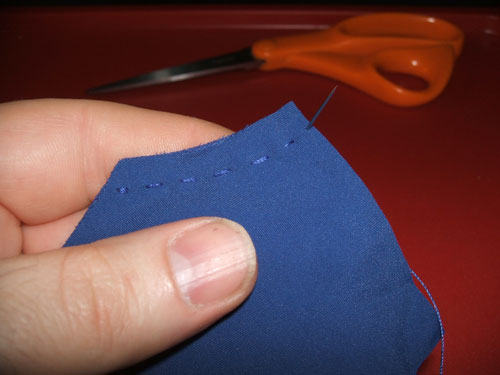
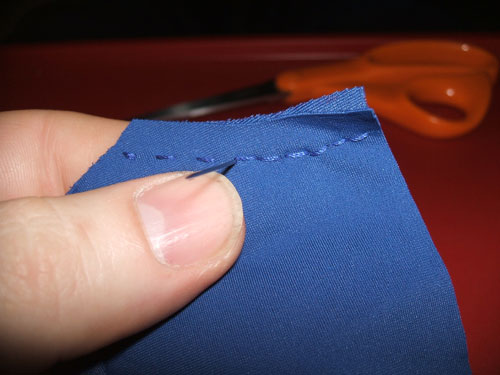
When your first pass is complete, while youre looking at one side of the material, your thread should look like a dotted line, with stitches every 1/8 of an inch. If you look at the other side, it will look the same. Dont stop here! This is what makes those gaps later. Go back the other direction, filling the gaps in that dotted line look. You dont have to tie off your thread at the end of the line, just start going back the other way. Youll fill those gaps and your line of thread should look more solid when you are done, like the second two above drawings and the picture below.
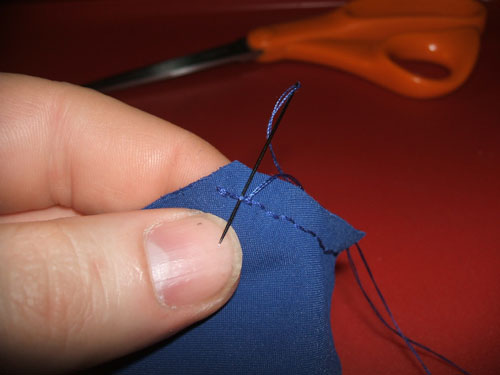
Once you get to the end of your second pass, stick your needle under the stitch (which should be the first stitch you made) but dont stick it through the material. Pull the thread under that first stitch, then through the loop in your thread that you just made and pull it tight. Do that once more. Youre basically tying a knot there to end the seam and making sure the thread cant pull back through the seam when pressure is put on it. Cut the thread close to the ending knot and you have a completed seam. Congrats!
This is basically it. If you can do this, you can make whatever you want. Just apply the same thing in different areas. If you run out of thread in the middle of a seam, dont worry, just tie it off as described, and take up where you left off with a new piece of thread. When you start over like that, just make sure you start the new piece of thread with that loop I described as the first stitch to make sure it stays secure.
Now lets continue with our pants. Sew the other crotch seam just as you did the first.
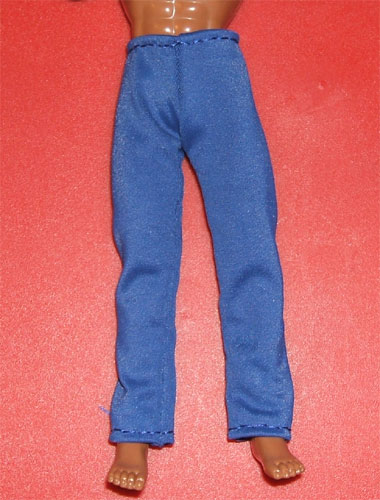
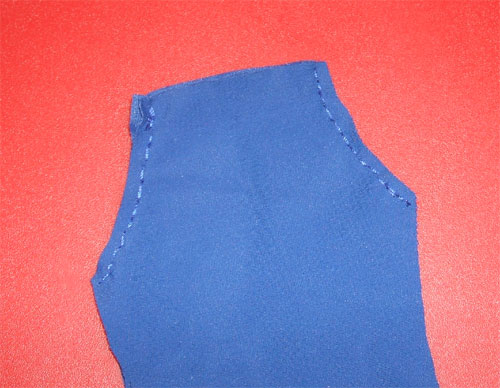
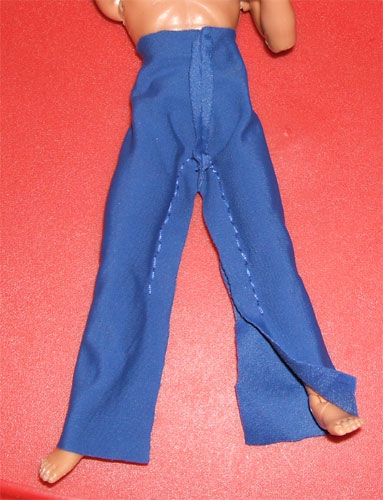
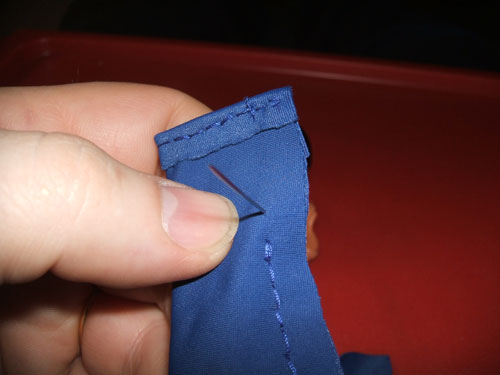
Okay, youve got those seams done, so lets work on the legs. Remember, with this pattern that the seams we just made are not at the hips of the figures, but in the center of the figure both front and back. It is important to know where these seams go on the finished figure, so you dont sew the wrong two leg portions together. If you look at the next picture, youll see you dont want to sew the legs together as they lay, that would make a skirt.
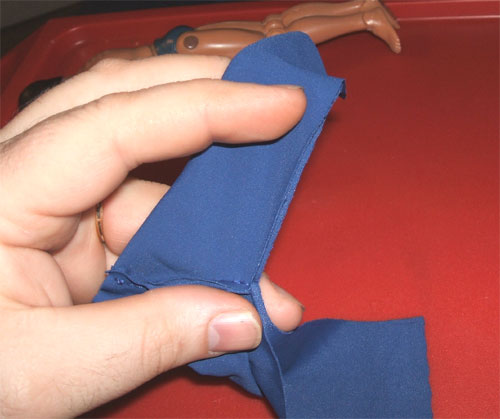
Line up the next seam. With this pattern, the edge of the leg of one piece of material will be sewn on to the other edge of the same piece of material, not the other piece like was done with the crotch seam.
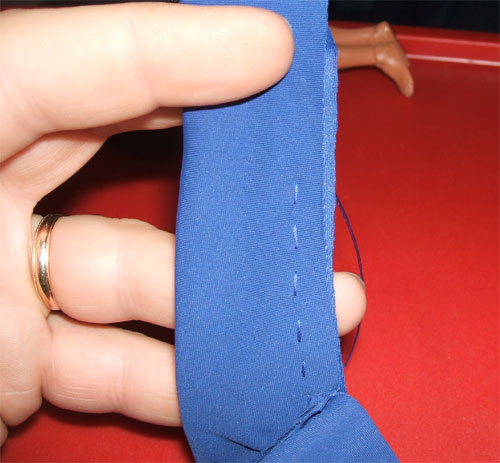
Line up the seam, and start at the crotch, right next to the crotch seam you made and start sewing down the leg. Note, when lining up, the two crotch seams you just made should line up right on top of each other and the edges of the leg material should line up perfectly.
Start your sewing as close to the crotch seam as possible and work your way down the leg. Ill stop about ¾ of the way down and start going back the opposite direction because Im not quite ready to close up the entire leg yet. Once you get back to the crotch, line up the other leg and start sewing that one together as well. Like the other leg, I stop below the knee area and start my way back up.
Why do I stop just below the knee? Because I dont trust my pattern. If the pattern is perfect, you can sew your hem at the bottom of the pants before you start putting the pants together. This is a little easier, however, it always seems like the pant legs are too short if I do this. It never seems to come out exactly the same length twice. This is why I always cut the length of the leg, and the waist area (if this was a top Id cut the arms longer) so I can create the hem line to the exact length I want. Hang in there, we'll get there.
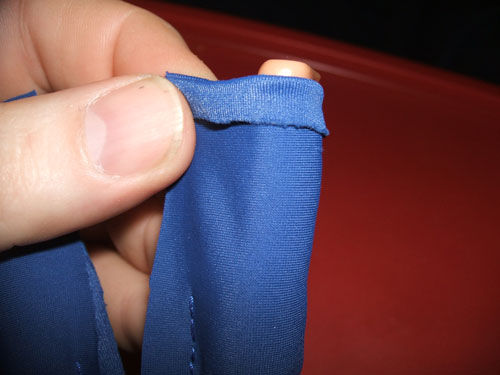
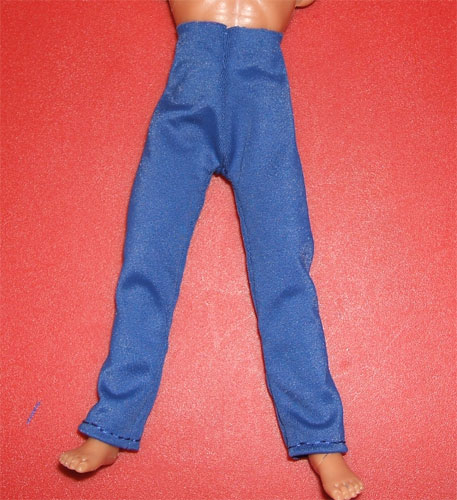
At this point, you should have a pair of pants you can put on a figure. Put them on your figure, just as they are, inside out. Your pant legs should be longer than the leg if youve cut your pattern a little long like I do.
Now, I can fold my hem to the exact length I want it to be. Remember, you are still inside out, so fold your material out, and slide the fold until you have it the proper length. While holding this fold in place, slide the pants back off and sew the hem. Just like the other seams, go one direction, then repeat the other direction. Do the same thing for the other leg.
If you have excess material on the hem line, now is a good time to trim it away.
You now have your length all set, so you can pick up where you left off on the leg seam and sew it all the way down to the bottom of the cuff. Once there, again, go back up so that you have sewn both directions along the seam. Repeat this for the other leg. You may have excess material on the inner leg. Cut it away, just make sure you leave about 1/8 between the edge of your material and your thread!

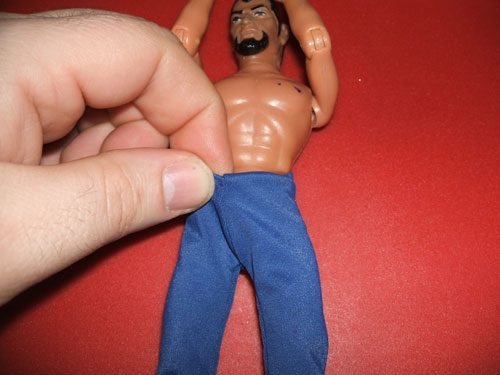
Youre almost done now. Turn the pants right side out and slip them on the figure. If something looks wrong, turn it back inside out and fix it. This is where your seamripper comes in handy. Pull out whatever seam youre not happy with, and make a new one. If everything looks right, then you have figure wearing pants with an unsewn waistline.
Remember, now you are rightside out, so fold your excess material inward and adjust it until you have the waistline where you want it. Carefully remove the pants from the figure while keeping the waistline folded where you want it.
Since this is basic sewing, we wont use elastic along our waistline. If Im using a spandex type material, I find I often dont need it anyway. At least if Ive created a nice fitting pair of pants.
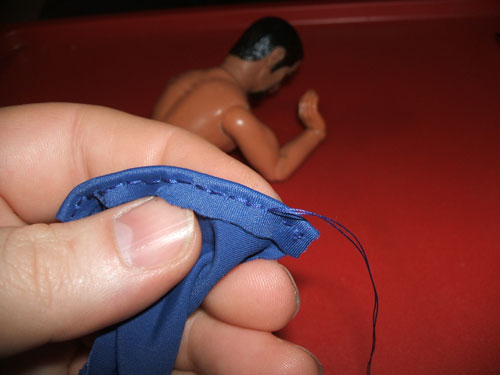
So, you have your pants with an unsewn waistline, its time to fix that. Easy enough! Just start your seam like all the others, making sure you loop the first stitch so it stays in place. Remember, you are right side out, so youll want to start your needle on the inside and pull out. That way, the knot is on the inside of the pants and wont be seen when on the figure. Since you were sewing the other seams inside out, it didnt matter, all of it is hidden, but on portions where the thread will show, youll want to pay attention to things like that.
Sew around the entire waistline. Before making your second trip around (just like all your other seams) its not a bad idea to try the pants on the figure and make sure the go on okay and look like you want them. If all is well, take them back off and make your second pass.
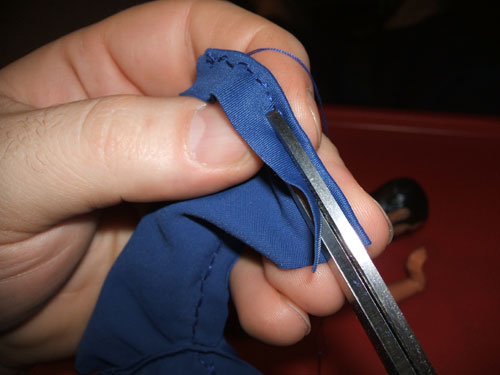
When finished, turn them back inside out and carefully cut away any excess material along the waist hem. Just like the other seams, make sure you don't get too close to the thread. Leave about 1/8" of material between the edge and the thread.

Congrats! Youve just sewn your first pair of custom pants. Nice work!
Now you can move on to whatever you want. The technique is the same for just about everything with some minor adaptations for things like collars and such. Shirts, capes, jumpers, all of them use the same basic principles.